These are so simple, they don't need a tutorial, but I wanted to share some details with you so you can make your own Rainbow Party!
Simple favor bags.
This could be done with any color scheme, but I thought it looked like a rainbow coming out of the bag so it was perfect like this!
Get these spools of ribbon at your local craft store for cheap! These were from Michael's and were 3/$1.00 on sale. I think they are normally only $.50 each. So, my 6 colors were $2. Can't beat that. I already had these little handled bags, but any bag would work. Try brown or white lunch sacks!
Use a couple inches of scotch tape, line your ribbons on the tape in the order you want, then just tape it to the inside edge of the bag. Easy.
Rainbow Personalized Bracelet Favors.
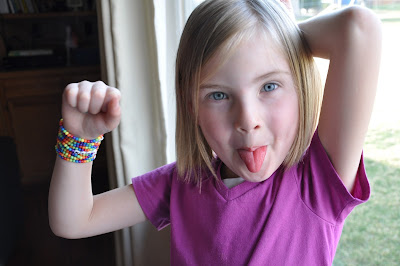
The bracelets were simple, too. I purchased letter beads and multi-colored beads at our local Hobby Lobby during a 50% off sale. I already had the 'Stretch Magic bead and jewelry cord' and a needle with a large enough hole to string the elastic. The elastic cord I had was 5mm. Pretty sure I saw similar stuff at Wal-Mart.
String on your beads, adding the names, or a word that goes with your party theme. Even Ethan (almost 9 year old brother) got in on the action making himself one in purple and yellow with the word, "Vikings" (after his love for the Minnesota Vikings) and a yellow one with a Pokemon character name. (are your kids into Pokemon?)
I sized the bracelets using Maeve's wrist as a guide. You just don't want it to be tight. Otherwise, these are pretty forgiving. Knot the elastic several times over and then clip the ends about a 1/16" from your knot. I gave it a tug before clipping the ends, just to be sure it wouldn't come undone.
See the whole party here. And a pinata tutorial here.


